The Portfolio post type allows you to display your gallery, projects and references in one location, separate from your pages and posts. It also allows for customisation, giving you more options in how you wish to display the content on your site.
Portfolio settings:
You can find the Portfolio settings under Theme options -> Portfolio. There you can choose the default sidebar (left and right) that will be displayed on your portfolio pages. If you prefer to have a full-width layout, leave both fields empty. You can also set the number of columns you wish to have in one row (up to 4).
Accessing your portfolio projects:
You can access the Portfolio in your dashboard menu, located right underneath the ‘Team’.
You can choose between three options. You can review all of your projects, add new projects and work on the Portfolio categories. Let’s start with creating a new project.
Creating your portfolio project:
You can create your project under Portfolio - > Add New. Creating your portfolio content is similar to creating pages or posts. You can decide on the project title, description and add widgets in the Live Editor as you would with pages and posts. The difference being - using the Portfolio allows for more customisation.
You can change your project's format (standard, gallery, video or audio) and add one or more portfolio categories as well.
Formats:
Upon choosing your portfolio format, more customisation options become available underneath the text area, depending on which format you will use. You can choose between:
Standard: standard post/page type (no added options).
Gallery: add a gallery to your project.
Video: embed a video you wish to display on your project.
Audio: embed an audio file you wish to display on your project.
Gallery post format:
Choosing the gallery format, allows you to include a gallery in your project
This option can be used when you are in the need of presenting your work (example: references), where images are more important than massive bouts of text. Once you choose the gallery post format, more customisation options will appear underneath the text area of your project.
Gallery: allows you to upload the images you would like to include in your gallery. The images appear underneath the upload button, allowing you to preview them.
Display gallery images in header as: you can choose to display the gallery images in the header in the form of either a carousel or grid (allows you to choose the number of columns in a row) or you can decide to completely hide the gallery in the header.
Thumbnail size: allows you to decide on the image's thumbnail size.
Video post format:
Choosing the video format, allows you to include a video in your project.
This option can be used when you are in the need of presenting your project in the form of a video or would simply like to include a video of your choosing. Once you choose the video post format, more customisation options will appear underneath the text area of your project.
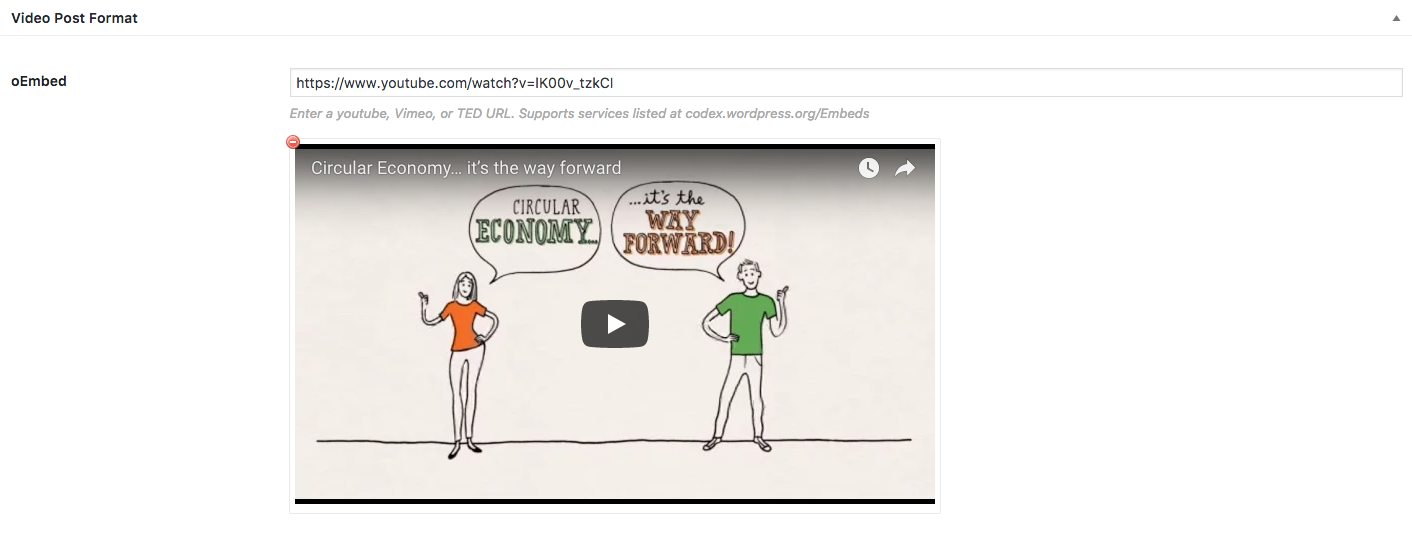
oEmbed: copy the link to your video into the area provided. You can enter a youtube, Vimeo, or TED URL. Supports services are listed at codex.wordpress.org/Embeds
An example of how the video post type looks displayed on your site:
Audio post format:
Choosing the audio format, allows you to include a sound file in your project.
This option can be used when you are in the need of presenting your project in the form of podcast or would simply like to include a sound file or a song of your choosing. Once you choose the audio post format, more customisation options will appear underneath the text area of your project.
oEmbed: copy the link to your video into the area provided. You can enter a SoundCloud, Spotify, or similar URL. Supports services are listed at http://codex.wordpress.org/Embeds.
Multiple files: you can also upload more than one file as well as use your own files. You can upload mp3, ogg, and wav formats.
An example of how the video post type looks displayed on your site:
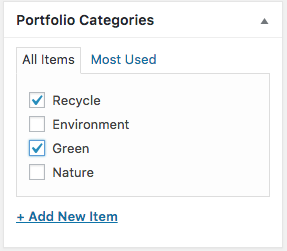
Categories:
You can access the Portfolio categories in the Portfolio settings -> Portfolio categories. Use categories to organise your site's content and make for a better and friendlier user experience to your site's visitors.
After accessing the menu, you can create new categories, based on your project and the content you are displaying on your site as shown on the screen capture below. You can name your categories, choose the slug and decide on the parent categories, as well as enter the description for each category. It is better to name the slug of the category all lowercase and containing only letters, numbers, and hyphens in order to make the categories URL-friendly and make for easier access.
The Portfolio Widget:
The Portfolio Widget allows you to display your projects in a user friendly, organised manner as well as according to how you wish for visitors to see your work. It offers a number of options for customisation as well.
How to start:
Firstly, make sure you have enabled the widget under Plugins -> SiteOrigin Widgets. See if the widget is enabled or disabled and if it is disabled, make sure to activate it first.
Once your widget is active, it is important to check if your categories are all set. The Portfolio Widget operates according to your categories, displaying the projects depending on what category they are in.
After you have done that, you can include the Portfolio Widget on your site, which allows for a number of customisation options.
Customising your widget:
The (OrionThemes) Portfolio Widget comes with a number of options which allow you to display your content according to your needs.
Widget settings:
Widget title: Decide on a title for the widget.
Choose categories to display: Allows you to choose which categories you wish to be displayed. You can also choose between selecting All or holding down the SHIFT key in order to select multiple categories.
Display filter: Decide if you wish to enable or disable the display filter. The display filter allows you to choose between the categories and allows for more customisation with a number of its own settings as well.
Number of columns: Choose how many projects you wish to display in one row (2-4).
Max number of items to display: Choose how many projects in total you wish to display. You can set -1 for unlimited.
Order by: Decide how to order your projects. Choose between date, last modified, random and menu order.
Order: You can choose between descending or ascending.
On click: Choose what happens when you click on a project. You can open a single portfolio, open the image in lightbox or choose to do nothing.
Widget style:
Image style: You can choose on a style for your image. The images will automatically crop to the chosen style. Choose between portrait, circle, square, 3:2 ratio, 750px or the original image size.
Hover text color: Once you hover over your displayed projects, the title of your project will appear. You can choose the color of that text (light, dark, main, secondary, tertiary color).
Image overlay: Choose an overlay for your displayed projects.
Image overlay on hover: Choose what overlay to display on hover.
Filter style:
Clicking on Portfolio tabs will filter the projects with a smooth animation which is implemented using the isotope.js library.
Filter style: The filter style is similar to a button. Choose between flat, wire or empty.
Filter color: Choose the color of the filter.
Filter size: Choose between tiny, small, normal or large.
Rounding: Choose if you want your filter's edges to be slightly rounded, completely rounded or not rounded at all.
Conclusion:
The portfolio post type offers a new variety of options when it comes to presenting your work, while keeping all of your projects in one location, without the need to browse through piles and piles of other content you have created in your pages or posts.
We hope this tutorial helps you create beautiful portfolios with ease. If you have any further questions, don't hesitate to ask us. We are happy to answer. If you happen to bump into a bug or any strange behaviour when creating your portfolio, please report it to our support desk so we can investigate and fix it.
This is a demo store for testing purposes — no orders shall be fulfilled. Dismiss